We’ve all been there—reading a story with our students, only to realize halfway through that some of them are completely lost. They can tell you a few details (“The dog’s name was Max!”), but ask about the main problem or how the story ended, and you’re met with blank stares.
That’s where a story map graphic organizer comes in. It’s a simple but powerful tool that helps students break down a story’s structure so they can see how all the pieces fit together.
What Is a Story Map?
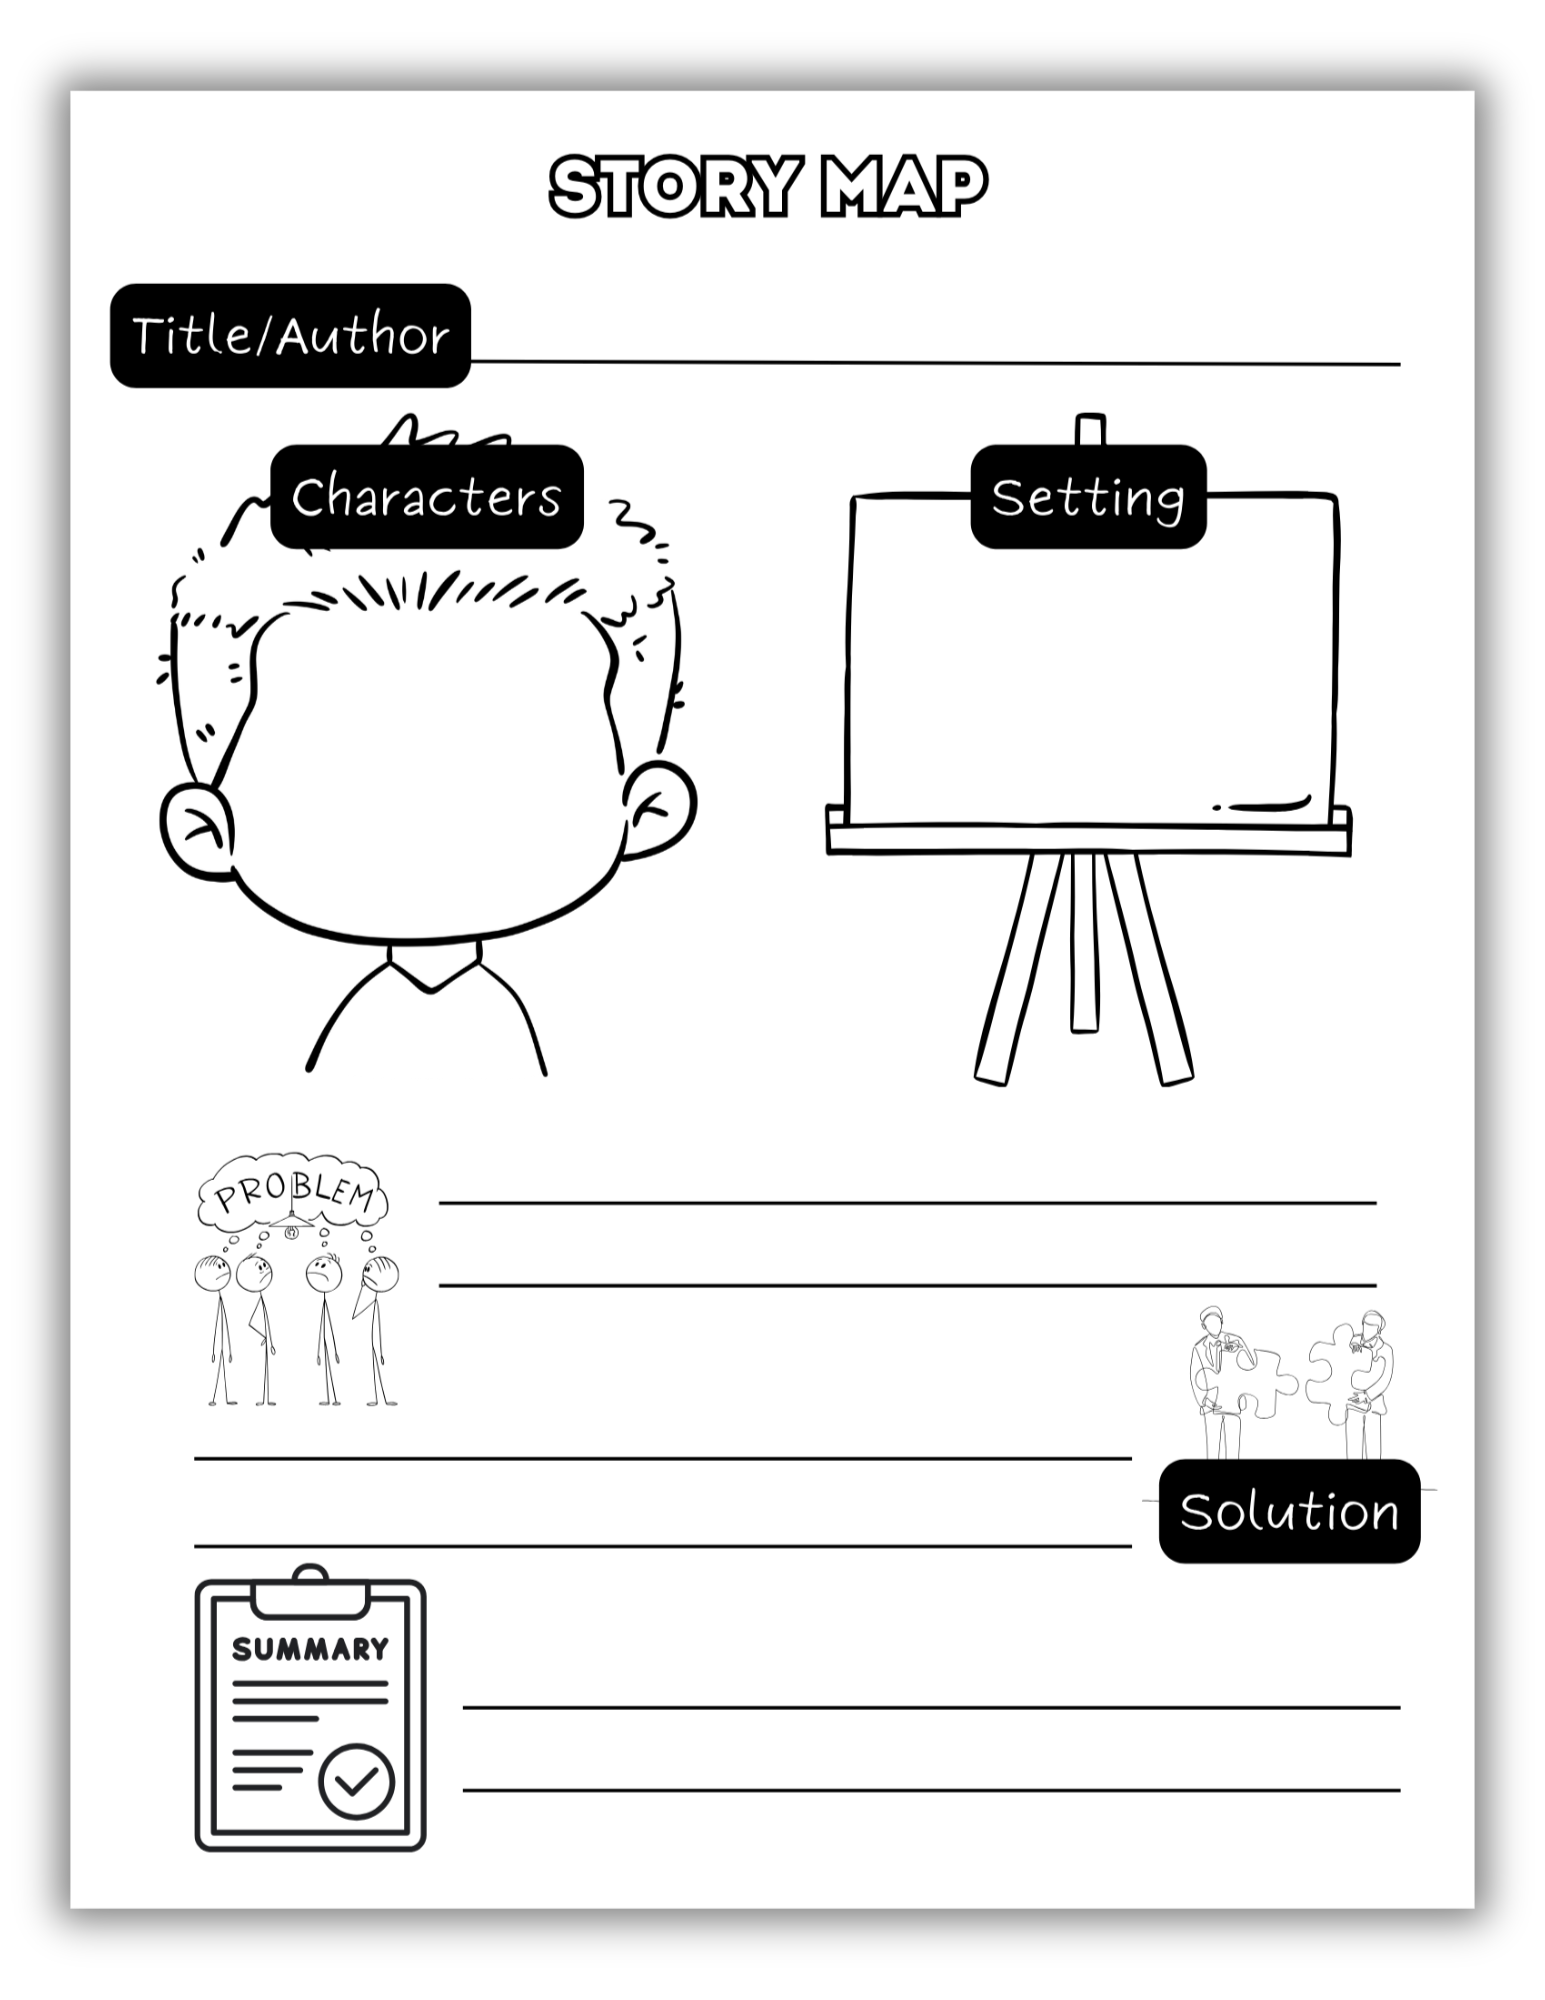
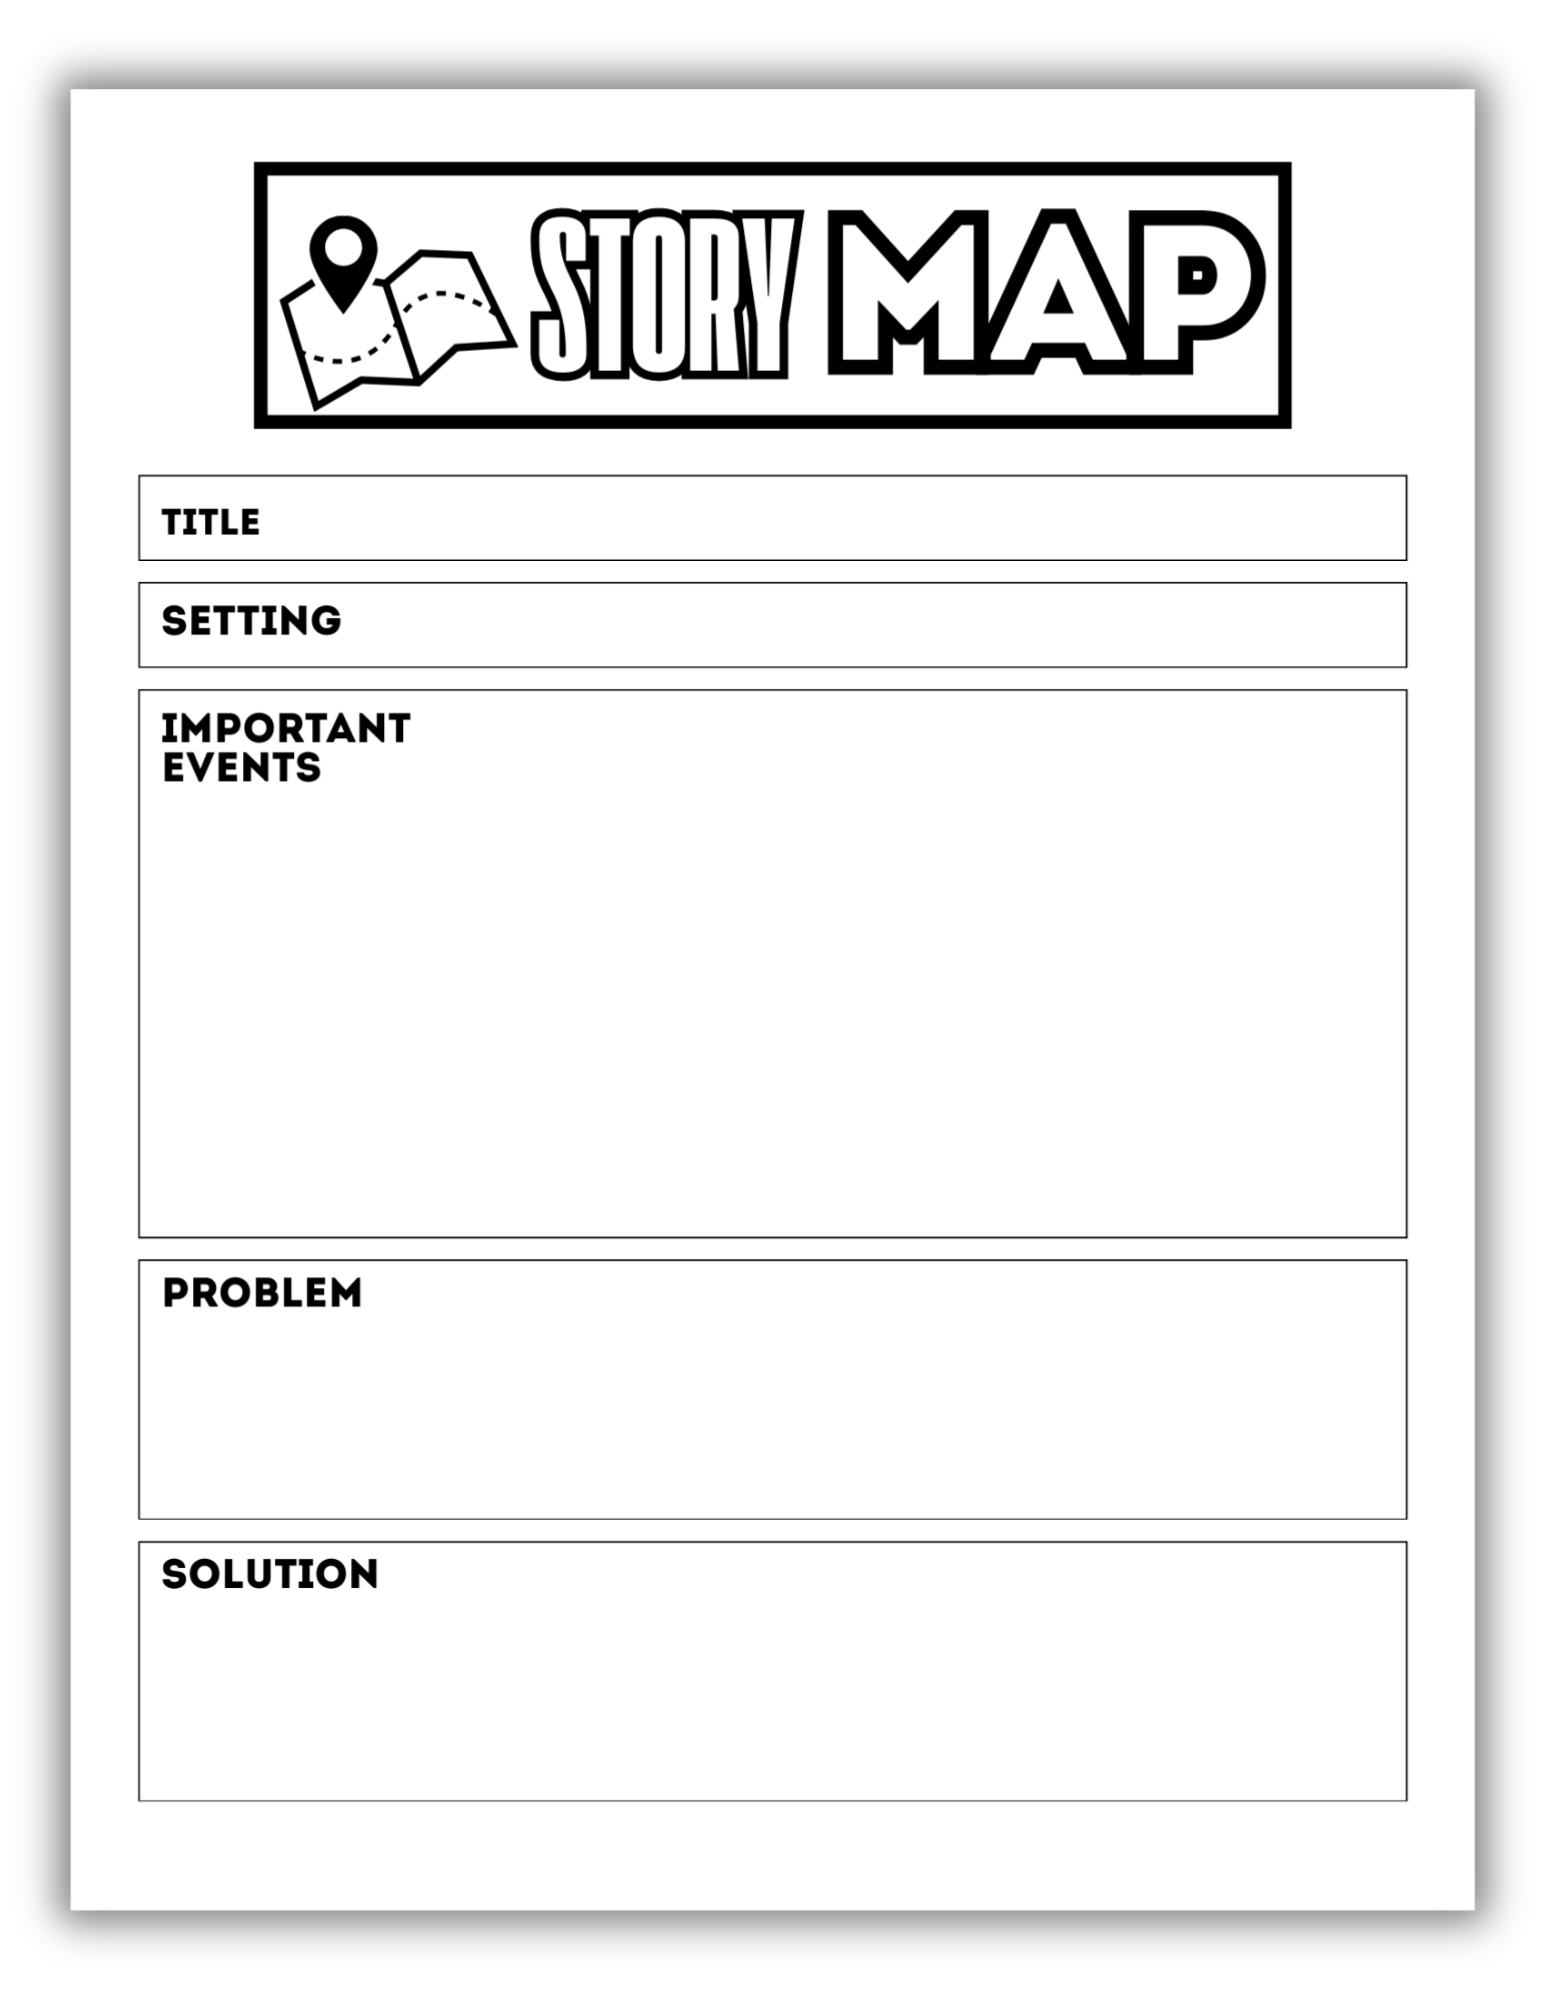
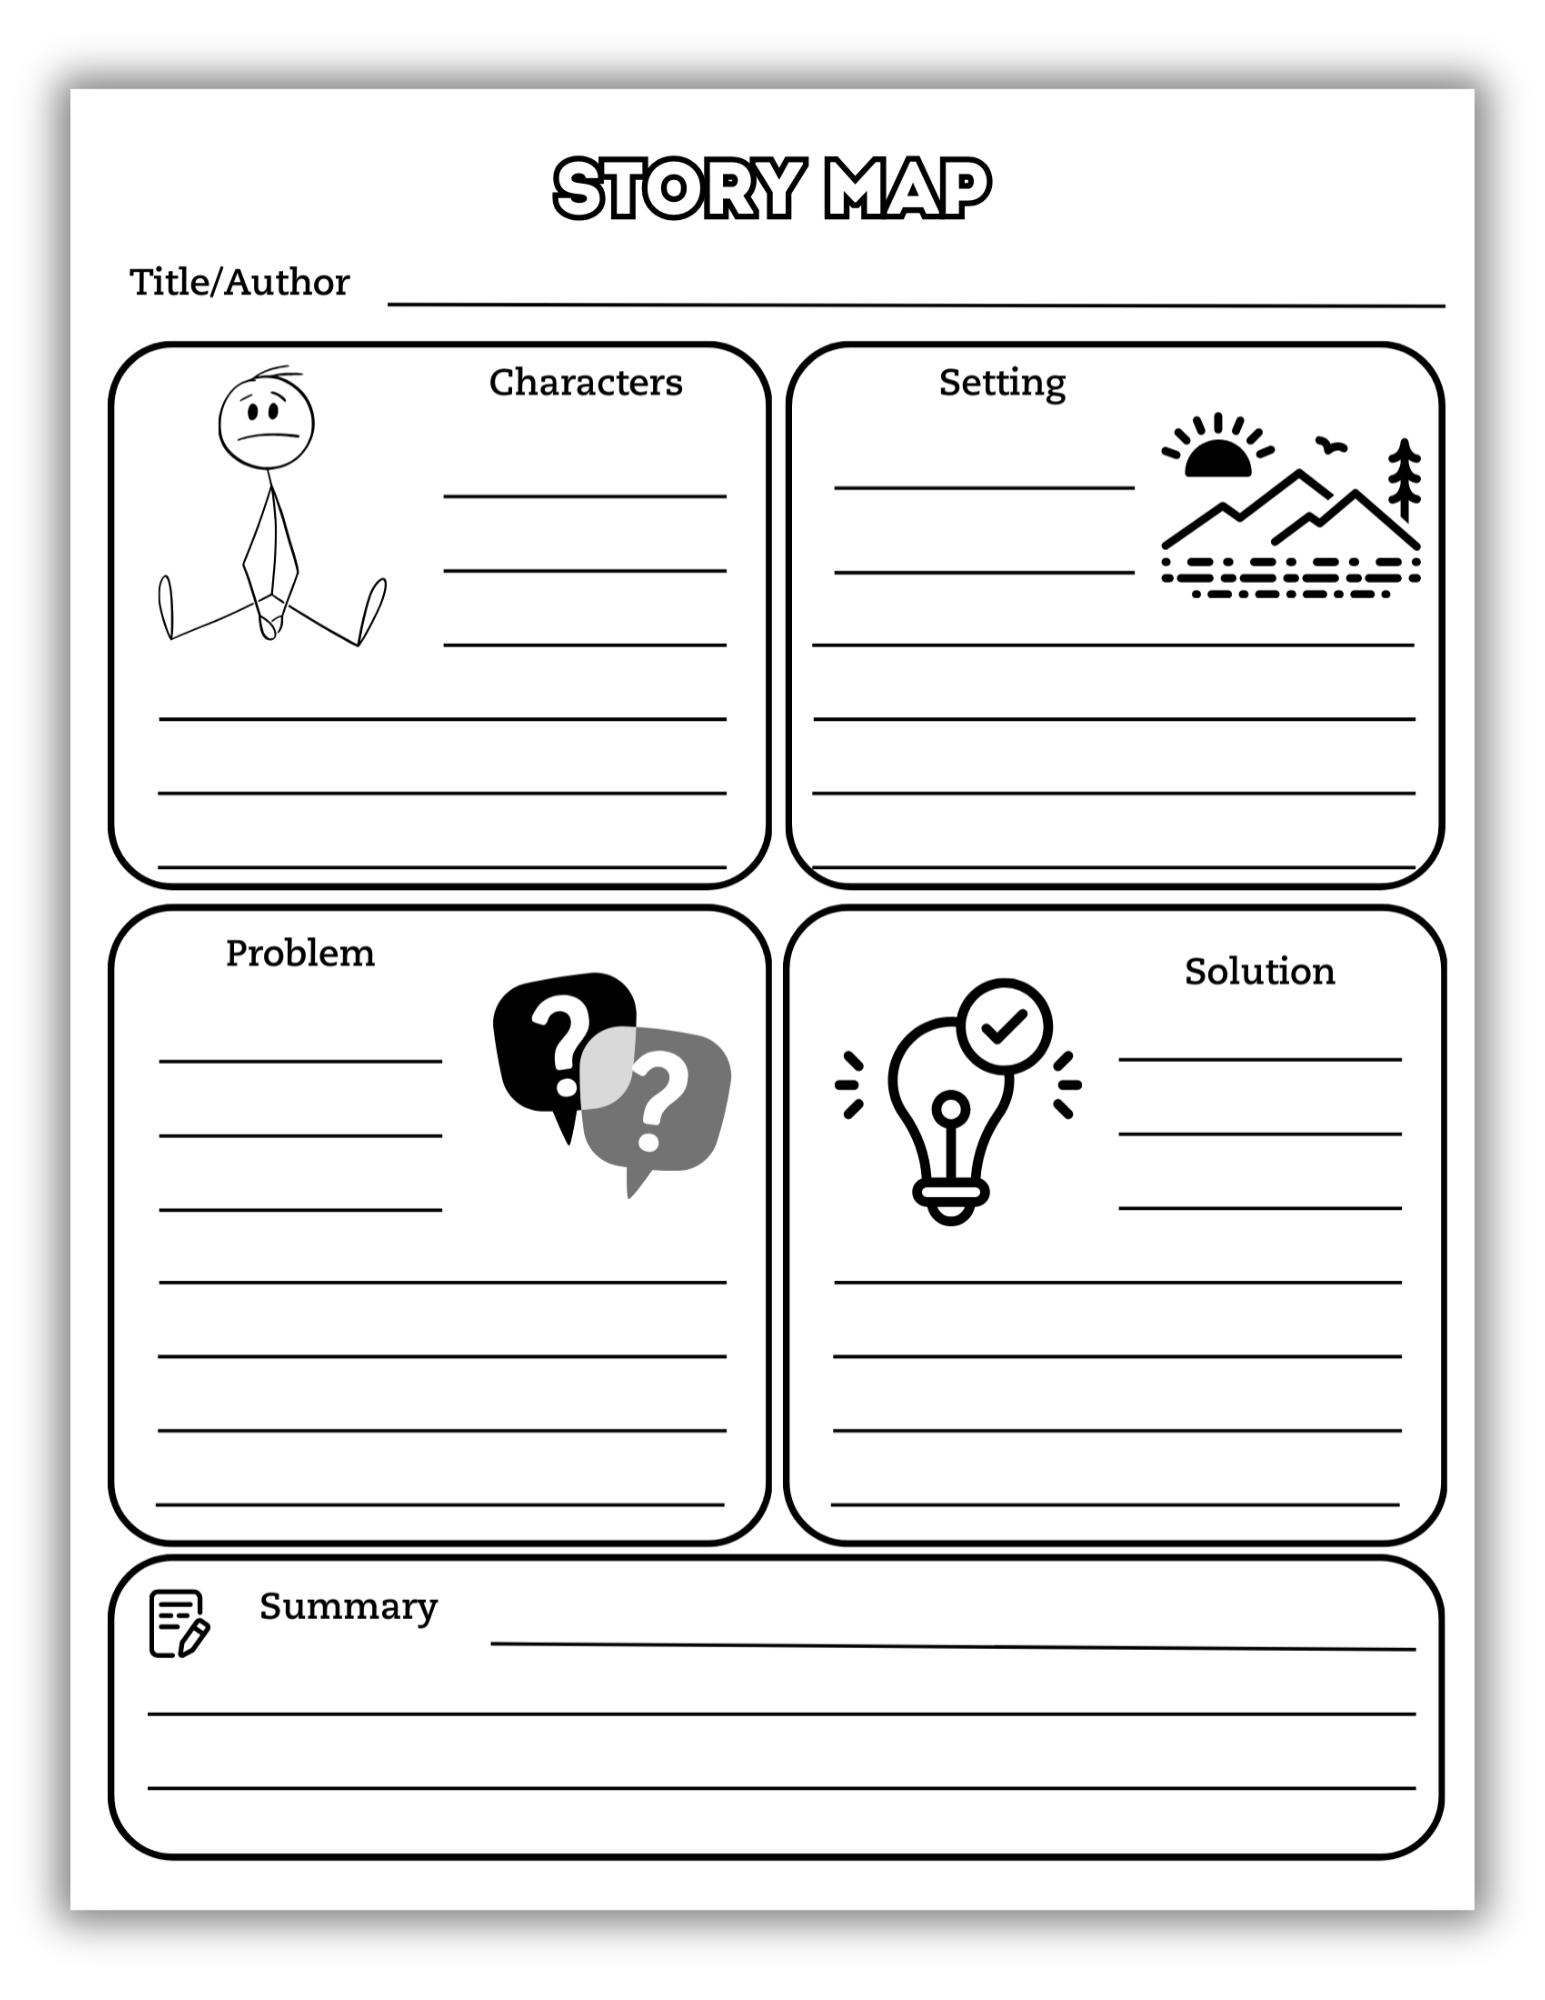
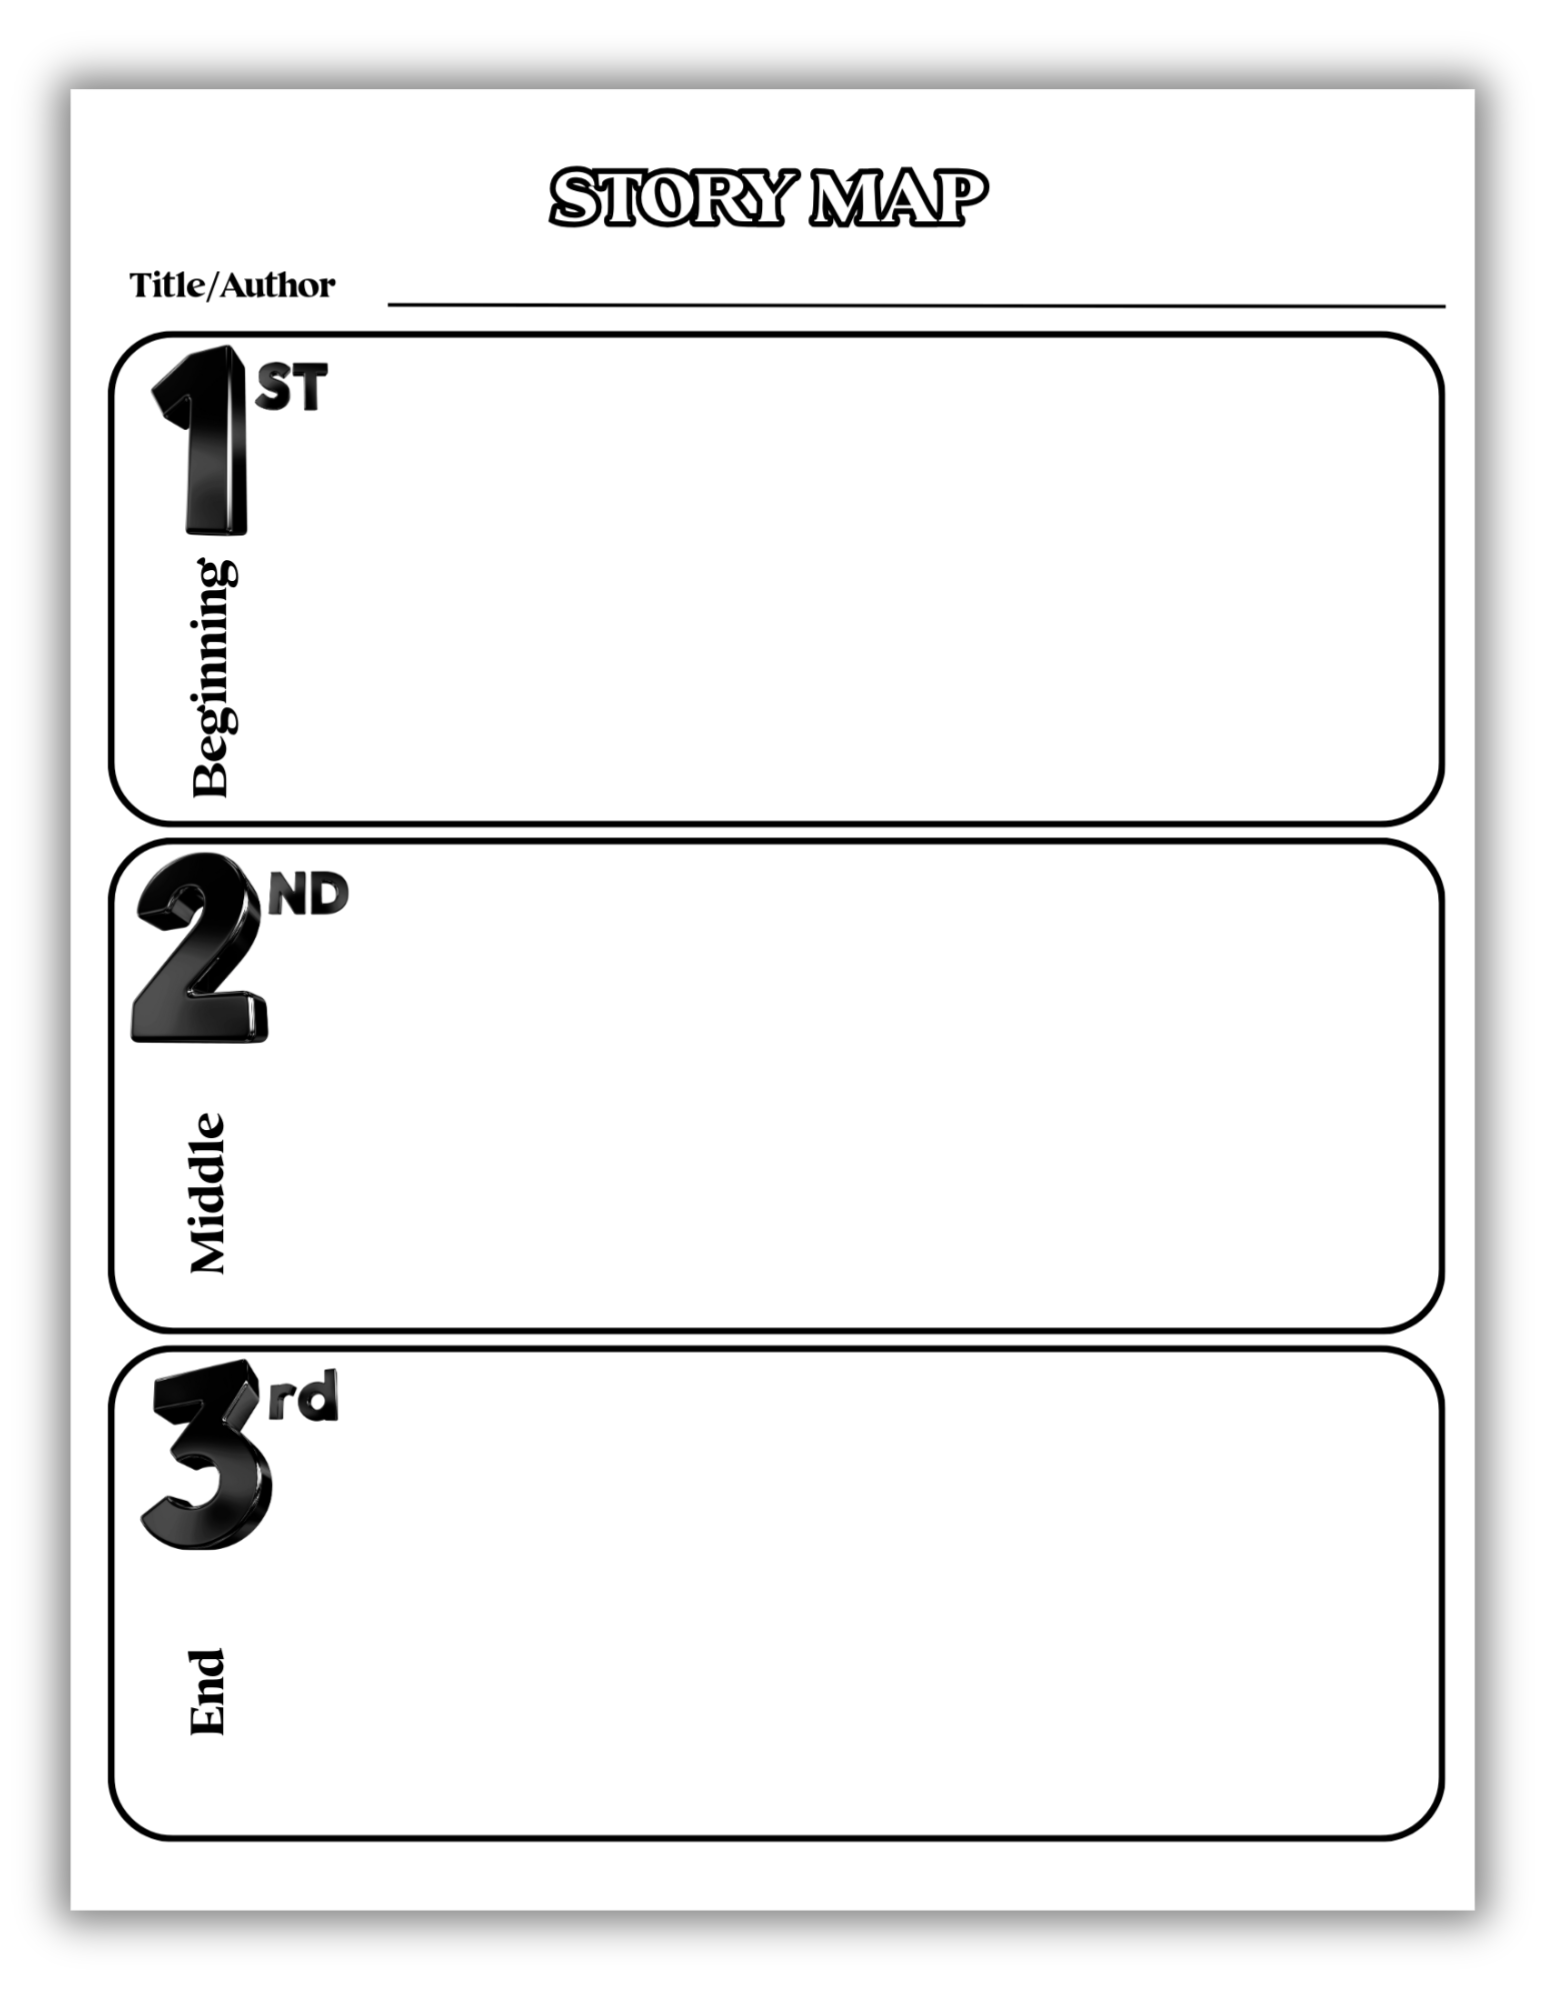
A story map is a visual organizer that helps students identify key elements of a story—things like characters, setting, problem, events, and resolution. It gives them a roadmap to follow, making it easier to track what’s happening and why it matters.
Why Use a Story Map?
- It builds comprehension. Instead of just hearing a story, students actively think about it and organize the information.
- It supports all learners. Struggling readers, English learners, and even your strongest students benefit from a structured way to process what they’ve read.
- It works for any story. Whether it’s a picture book, chapter book, or even a short video, a story map helps make sense of the narrative.
How to Use a Story Map in Your Classroom
- Introduce the story map. Before reading, show students the organizer and explain how it will help them understand the story.
- Model it first. Read a short story aloud and complete the story map together. Talk through your thinking as you fill in each part.
- Let students try. After reading a new story, have students complete a story map on their own or with a partner.
- Discuss and review. Use their responses to spark conversations about how the story’s parts connect.
Ready to use a story map with your students? Below, you’ll find a variety of templates to fit different needs—choose the one that works best for your class!